Navigating Roof Insurance Claims After a Florida Storm: A Homeowner’s Guide
Florida storms can leave more than fallen branches and power outages — they can leave homeowners facing the challenge of filing roof insurance claims in Florida. Between documenting the damage, understanding coverage, and working with insurance adjusters, the roofing insurance process can feel overwhelming.
The good news: with the right steps, you can file your claim with confidence and ensure your home gets the protection it deserves. By knowing what to expect, you’ll not only avoid common pitfalls but also gain peace of mind knowing your roof — and your home — will be restored properly. This guide covers what Citrus and Ocala homeowners need to know about storm damage insurance claims.
Why Insurance Claims After Storm Damage Can Be Complicated
Florida experiences some of the most frequent and intense storms in the country. Because of this, insurers process thousands of claims each year, which can lead to delays and disputes.
Without proper documentation or support, homeowners risk receiving a settlement that doesn’t fully cover necessary repairs. By preparing properly, you can help make sure your claim is fair and your roof is restored quickly.
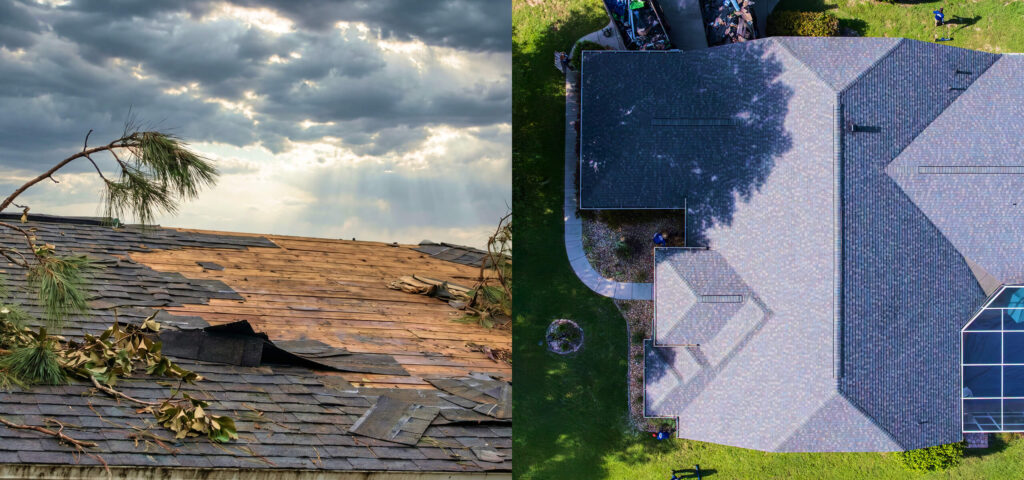
1. Document the Damage Thoroughly
Insurance claims succeed or fail based on documentation. Immediately after the storm:
- Take photos and videos: Capture wide shots of your roof and close-ups of missing shingles, damaged flashing, or debris.
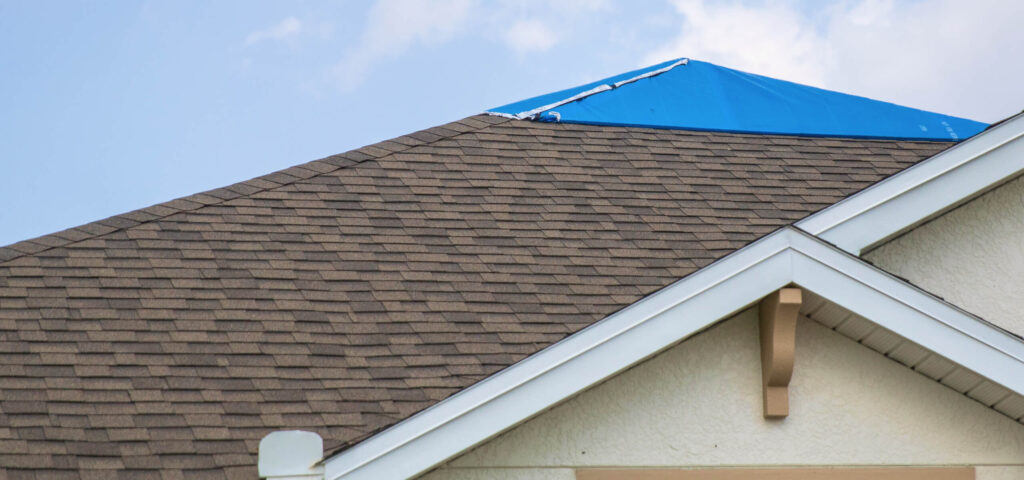
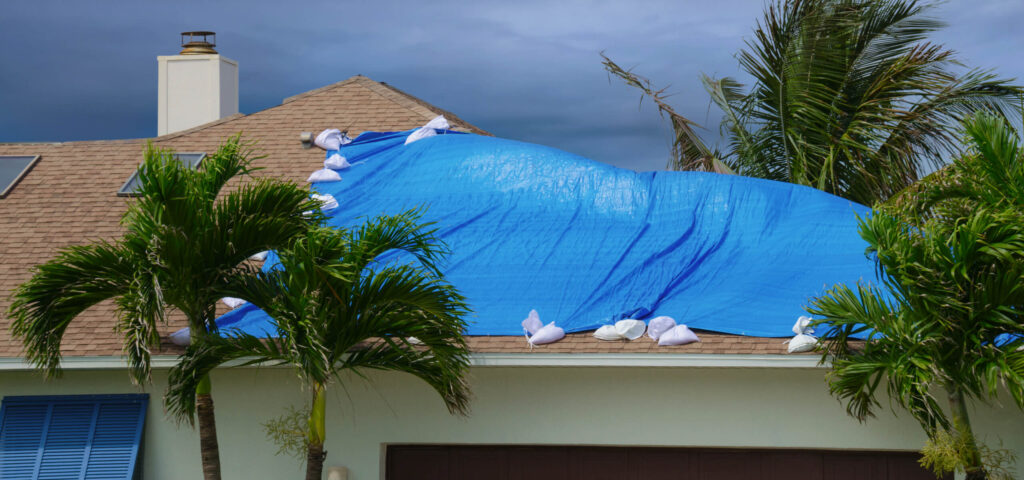
- Save receipts: Keep proof of any emergency supplies or temporary repairs, such as tarps.
- Record storm details: Note the storm’s date and conditions.
📸 Tip: For safety, don’t climb onto your roof yourself. A licensed roofing contractor can provide a professional inspection and a written report insurers rely on.
2. File Your Claim Promptly
Most policies have strict deadlines for filing storm damage insurance claims. Waiting too long could reduce your coverage or result in denial.
When contacting your insurer:
- Provide your policy number and the storm date.
- Share your documentation up front.
- Ask what additional steps or forms are required.
Quick action ensures your claim is processed sooner and helps avoid unnecessary disputes.
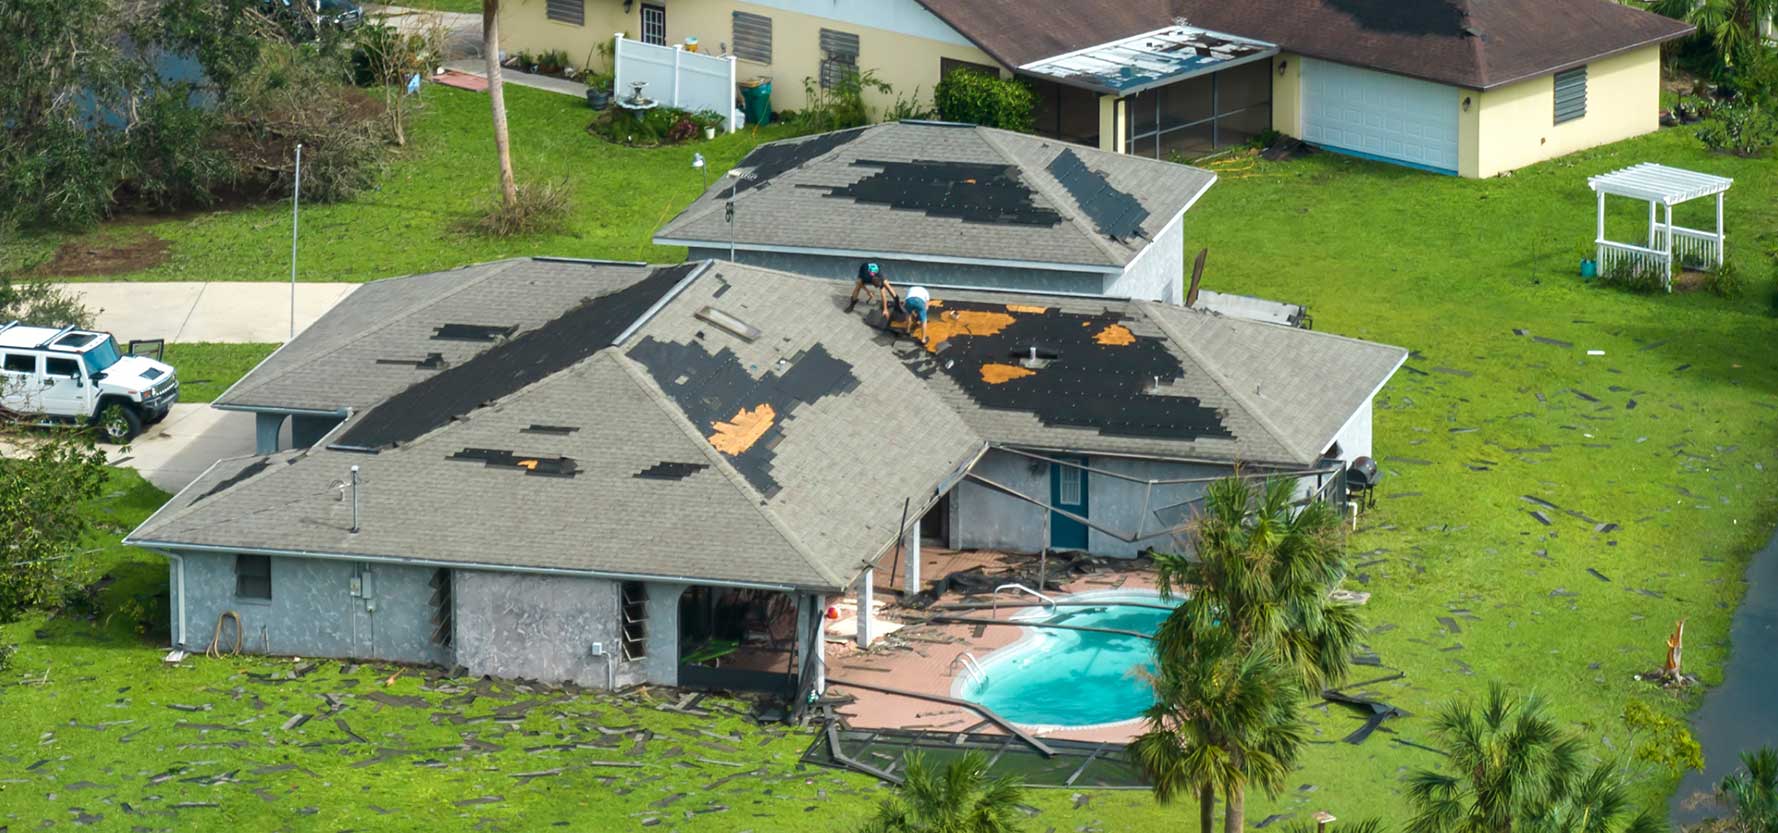
3. Work with the Insurance Adjuster
Your insurance company will send an adjuster to evaluate the roof damage. To make the most of this step:
- Invite your roofer: Having a trusted contractor present ensures nothing is overlooked.
- Show your documentation: Provide photos, inspection reports, and receipts.
- Ask questions: Clarify what’s covered, how costs are calculated, and when repairs can start.
At Quality First Roofing, we often meet adjusters on behalf of homeowners to advocate for a fair assessment of storm-related roof damage.
4. Review Your Settlement Offer Carefully
Once the adjuster’s report is filed, you’ll receive a settlement offer. Review it closely to confirm it:
- Covers labor and materials for repairs.
- Reflects fair market pricing for your area.
- Includes code-required upgrades, if applicable.
If the settlement seems low, request an estimate from your roofer for comparison. In some cases, you may appeal or request a reinspection.
5. Choose a Licensed Roofing Partner
Filing the claim is only half the journey — the repair itself is what keeps your home safe. Select a roofing company that is:
- Licensed & insured to protect your family and property.
- Experienced with the roofing insurance process to support your claim.
- Local to Florida, familiar with storm patterns and building codes.
Quality First Roofing helps homeowners in Citrus County and Ocala every step of the way, from documentation through final repair.
What’s Included in a Roof Inspection for Insurance?
A professional inspection typically includes:
- Checking shingles, tiles, and flashing.
- Examining gutters, downspouts, and attic spaces.
- Identifying weak spots or hidden leaks.
This comprehensive inspection produces a report that strengthens your claim and ensures no storm damage is missed.
When Should I File a Roof Insurance Claim in Florida?
The best time to file is immediately after the storm. Waiting can make it harder to prove the cause of damage and may put you outside policy deadlines.
Even if leaks haven’t appeared yet, an inspection can reveal hidden issues that should be addressed before they turn into major problems.
Florida Roof Insurance Claim Checklist
- Photographed your roof and visible damage.
- Saved receipts for emergency repairs or supplies.
- Filed your claim promptly within the deadline.
- Scheduled a professional roof inspection.
- Met with your adjuster (with your roofer present).
- Reviewed your settlement offer carefully.
- Selected a licensed, local roofer for repairs.
How Do I Know If My Insurance Claim Is on Track?
The roofing insurance process doesn’t have to be intimidating. With timely documentation, a clear understanding of your policy, and support from a trusted local roofer, you can avoid common pitfalls and ensure your storm damage insurance claim is handled properly.
Don’t wait until a minor issue becomes a major denial — contact us to schedule your free roof inspection today. Quality First Roofing will document the damage, guide you through the claim, and deliver the workmanship your home deserves.